Building a Parse.com Enabled PhoneGap App - Part 2
Sorry it took me a few days to get part 2 done. My hope is to get a few more entries done this week with a wrap up by next week. If you haven't read the first part, follow the Related Entries links below. Hopefully you're up to date and ready to go.
In the previous blog entry I discussed the purpose of the series and what the goal was for the application I'm building. The Cow Tip Line will allow you to both report and find cows ready for tipping. While not really an enterprise-level application, I'm going to touch on aspects that I think will be applicable and helpful for all.
There are two main technologies I'll be using for this application. They are PhoneGap and Parse. In this blog entry I'm going to focus on the set up steps you'll need to make use of these technologies.
Let's tackle the easy one first - PhoneGap. In order to circumvent the normal Getting Started process, I'm just going to make use of PhoneGap Build. PhoneGap Build is a free service that can take care of building out your native applications for you. Using PhoneGap at the command line is easy. Using PhoneGap Build is even easier. Signing up requires an Adobe or Github username, and for more details, I encourage you to read my Adobe Developer Connection article: PhoneGap Build Levels Up. I'm not even going to worry about this aspect till later in the series so you can entirely skip this part for now if you want.
Parse's set up is slightly more complex so the rest of the entry will focus on that process. If you plan on following along and building your own copy of the application, you will need to follow these steps. (And do leave me a comment below if you plan on doing this - I'd just like to know who is paying attention. ;)
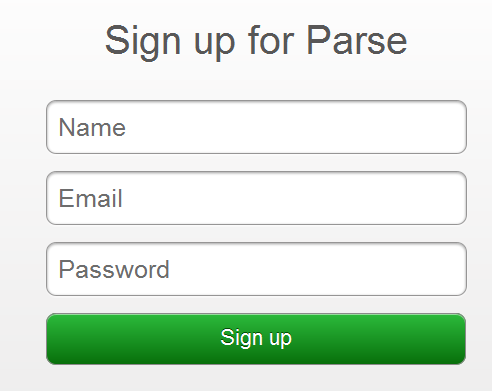
First, navigate over to the Parse signup.

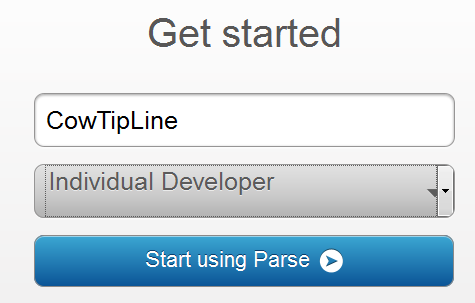
Note that signup is 100% free and doesn't require a credit card. After signing up, you are immediately dropped into a form to create a new application:

Now this part is a bit odd - after naming your first application, you get brought back to the main Parse site. Just click the Dashboard link, which will bring you to a listing of your apps - all one of them:

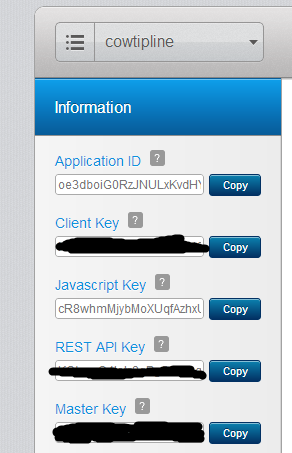
Click the application and you're brought into the detail view of the application. Here you will want to make note of the keys to the left. There are two important values here, the Application ID and the JavaScript Key.

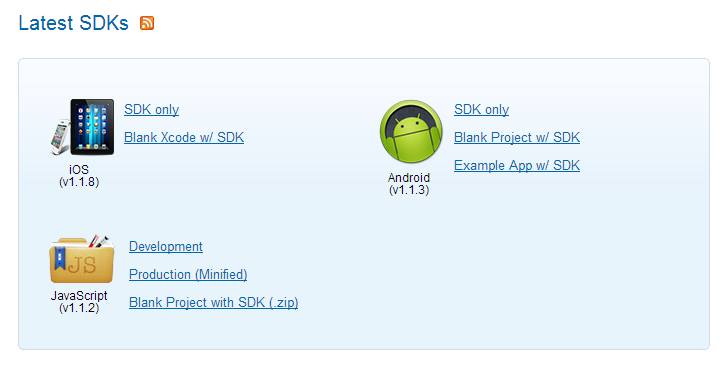
You won't need them just yet, but keep in mind where they are. Finally, click Downloads.

You will be interested in the JavaScript section. Development links to a readable copy of the JavaScript API whereas Production leads to the minified version. The blank project isn't necessarily blank. It actually has a bit of CSS and some code that automatically creates an object for you. You want to grab the minified version of the JavaScript library and drop it into a new folder.
I've set up a folder for the root of my application called cowtipline. In there is a folder called "js" where I saved the Parse JavaScript library. I then made a very simple index.html file:
I've provided my own Application ID and JavaScript Keys above. (And in case you're wondering about the safety of that - stay with me - the last entry in the series will discuss how we can secure those values.)
If you run this - nothing will happen. But we've got the basics done and can now start coding. I've also set up the GitHub repository here: https://github.com/cfjedimaster/CowTipLine
In the next entry I'll begin setting up the UI based on the mockups from the previous entry. I'll also add the first set of logic to let you start creating Tips from the application.